
How To Restore WordPress Backup
Even on the Internet, bad things can happen to good people. This is why we keep reminding you to back up your websites. We have written about different methods to backup WordPress such as: manual backup, BackupBuddy, BackWPup, and VaultPress. Now that you have a WordPress backup, you need to know how to use it in case of emergencies. In this guide, we will show you step by step guide on how to restore WordPress from backup. You will need to restore WordPress in case a disaster strikes your website such as getting hacked or infected by malware, loss of data, cancellation of services by web host, etc.
Note: This guide is for restoring WordPress from backup. If you are trying to move your WordPress website to a new domain, then you should check out our guide on moving WordPress to a new domain without losing SEO. If you are trying to move from local host to a live web hosting account.
Understanding Backups and Restoring WordPress. There are different ways to create backups. You can use plugins to create database backups or full site backups. You can also create manual backups. Restoring WordPress from those backups depends on how you created them. For example backups created using BakupBuddy can be restored by using the same plugin. Manual backups need to be manually restored. A lot of WordPress users don’t backup their entire websites, instead they only back up their theme, uploads directory, and their WordPress database. This reduces their backup size, but increases the steps needed to restore the site.
No matter how created your back up, the basic steps are the same. First you need to clean your WordPress files. The best way to do this is delete everything from your web server using an FTP client. Next, you need to restore the database, install fresh copy of WordPress and the plugins you had, then lastly restore your theme and images.
Restoring WordPress from BackupBuddy Backup File
BackupBuddy offers a very convenient way to restore WordPress from a backup. If you are using BackupBuddy to backup your website then login to your WordPress website and go to BackupBuddy » Restore/Migrate. Download a copy of
importbuddy.phpYou will be asked to provide a password for importbuddy. This password will be used when you restore your website.
Download a copy of your backup. You can download it from BackupBuddy » Backups or the destination that you used to store your backups.
Once you have the backup zip file and
importbuddy.phpstored on your computer, connect to your website using FTP. If you have a complete backup of your website, then delete all files and folders from your server. However, if you have a partial backup then you may want to first download the files that you haven’t backed up. For example, files in your
/wp-content/uploadsAnd
/wp-content/themesdirectory. Once you are sure that you have everything backed up, proceed deleting all files and folder from your website’s root directory.
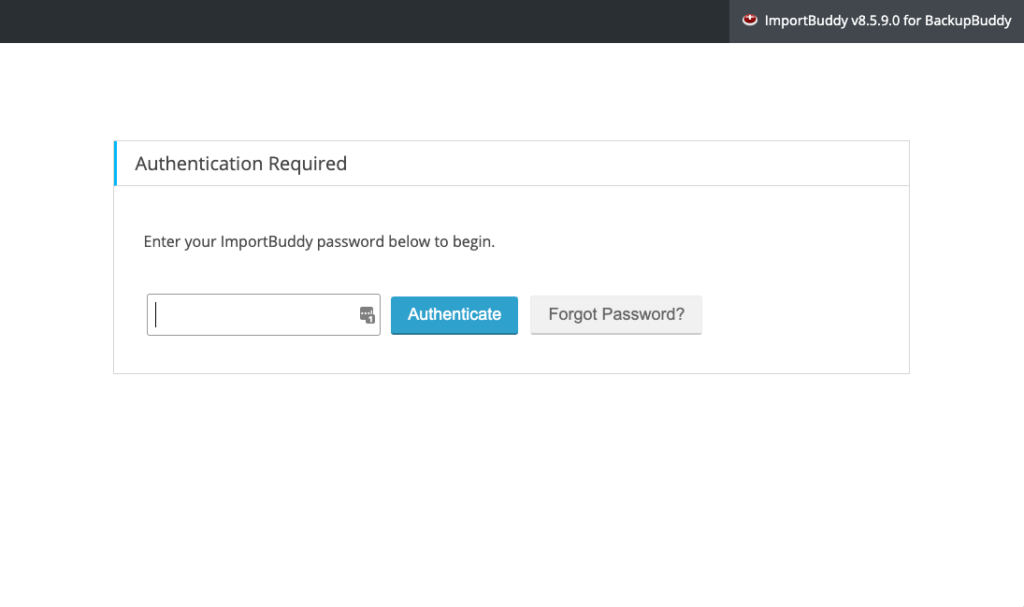
Upload your BackupBuddy backup and importbuddy.php files. Once both files are uploaded to the server, visit importbuddy.php in your web browser. It is in your website’s root directory so its URL will be something like:
http://www.example.com/importbuddy.phpImportBuddy will now ask for the password that you created when you downloaded ImportBuddy.
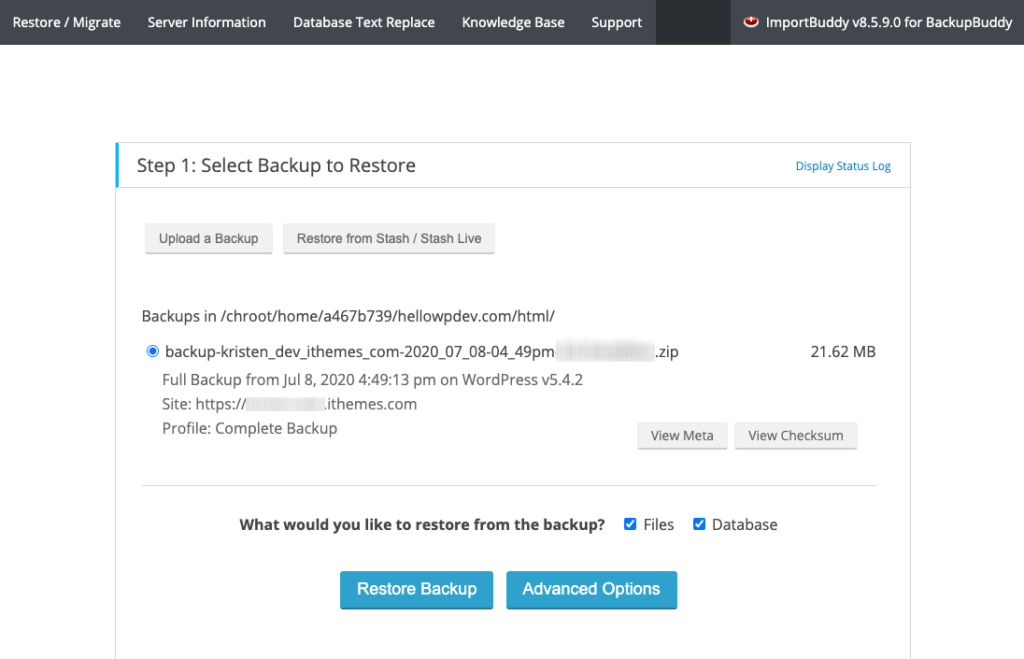
On the next screen, ImportBuddy will display the backup file you uploaded. In case you did not upload your backup file using FTP, then you can click on upload tab to upload the backup file now. If you have your backups stored on iTheme’s Stash storage service, then you can connect to it by clicking on stash tab now. Once you have selected your database, click on Next Step to continue.
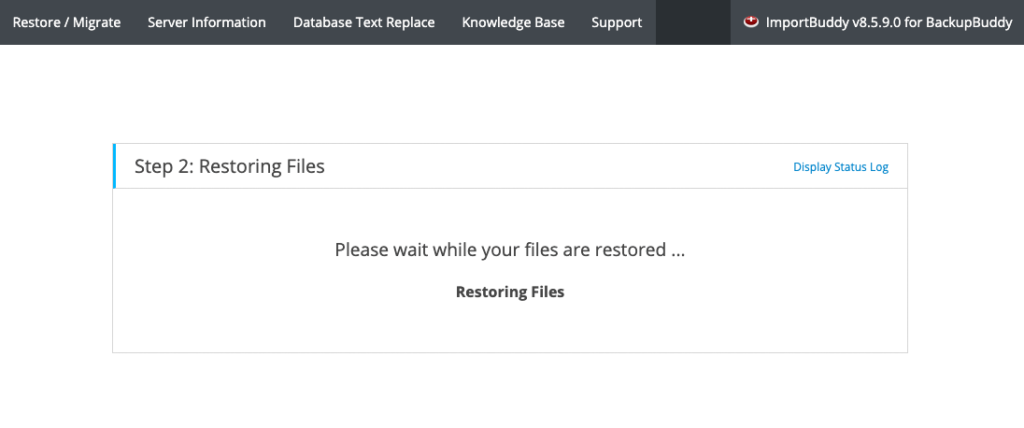
ImportBuddy will unzip your backup file and show you a success message when it has extracted the files.
Click on the next step button to continue. On the next screen, ImportBuddy will ask you to provide site URL and Database information. If you are moving from one domain to another, or a local server site to a live site, then you will need to update the site URL. If restoring a WordPress site then it will already be set to use your current URL.

Restoring a hacked WordPress website or trying to remove malware, then you do not want to use your old database if it already has WordPress installed. You can either drop tables from your old database using phpMyAdmin, or create a new database using cPanel. Once you are done creating a new database or emptying the old one, provide your database details. If you are restoring to your old database then Import Buddy may have already filled these fields for you. Test your database settings and then click on next step to continue.
ImportBuddy will now import your database once it is done, click next step to continue. Now ImportBuddy will update your site URLs paths etc. Once it is done, you will be asked to test your site. If everything is working fine, then you have successfully restored your website. On the importbuddy page click Clean up and remove temporary files button. This will delete temporary data in database and files created during restoration.
Restoring WordPress Database from Backup using phpMyAdmin
When restoring a manually created backup, you may come across two possible choices. You can either create a new database and import your backup into it, or you can empty your existing database and import backup. If you are cleaning a hacked WordPress website, then it is very important to change your MySQL username and password before creating a new database or importing into existing database.
To empty your existing database, log in to your cPanel account (Your web host may have some other solution), scroll down to databases section and then click on phpMyAdmin. This will open phpMyAdmin in a new browser tab. Click on your database, and select all tables. From the drop down to your right, click drop selected tables, as shown in the image below:
Now if you were creating a new database, then simply log in to your cPanel account. Scroll down to the databases section and then click on MySQL databases.
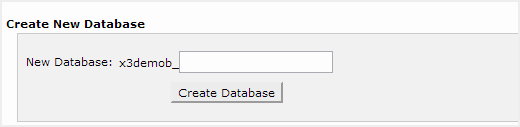
On the next screen simply provide a name for your new database and hit create database button.
Once you have a clean database OR a new database, click on the import tab on the top in phpMyAdmin. This will take you to the import page where you can click on choose file and the select the database backup from your hard disk. . After choosing your back up file, click on the Go button at the bottom of the page. phpMyAdmin will now import your database.
Restoring WordPress Database Backup using cPanel
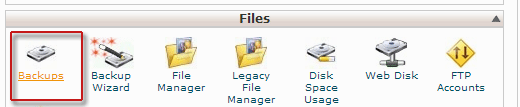
If you manually created a WordPress database backup using cPanel, then you can also restore that database using cPanel. Log into your cPanel account and scroll down to files section and click on Backups.
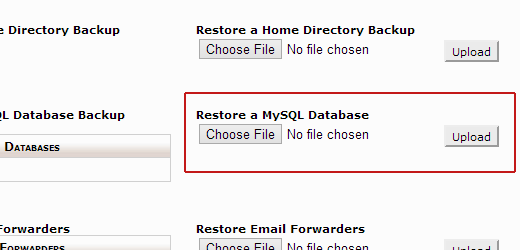
On the backups page scroll down to Restore a MySQL database backup. Click on choose file and select the backup file from your hard disk. Once done, click on the upload button.
Manually Restoring WordPress Files using FTP
If you are restoring a WordPress website to clean up a hacked site or to remove malicious code, then you should know that it would work best if you delete every thing on your website first. Delete all WordPress core files and directories. Only do this if your backup is up to date, and has everything you have customized, changed, or uploaded on your website. If you do, then you can delete every thing on your website using cpanel (way faster), or using FTP.
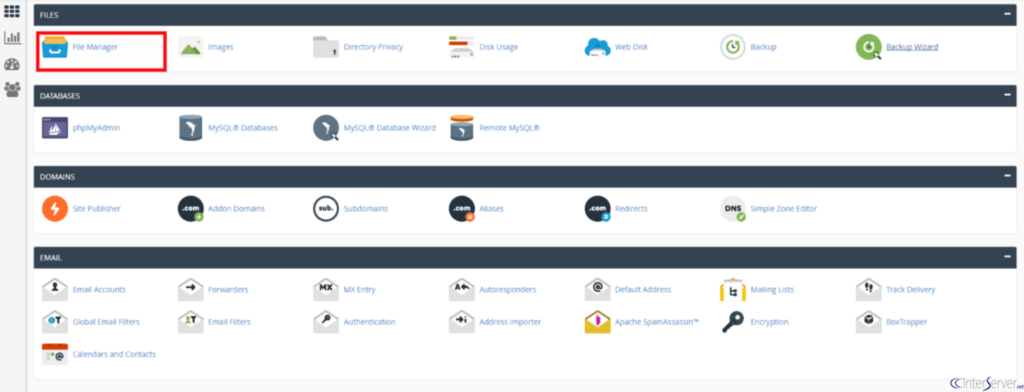
To delete all files from your website using cPanel, log in to your cPanel dashboard and scroll down to Files section. Click on File Manager, which will then ask you for directory selection. Choose Web root and proceed. File manager interface will now open in a new tab in your browser. Select all WordPress files and delete them.
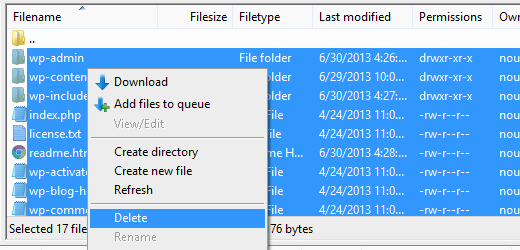
To delete files using FTP, simply connect to your website using an FTP client such as FileZilla. Select all files in your WordPress root directory and delete them.
Now before you start uploading files from your backup, make sure that the back up you have is clean. If you are restoring a website that had malware or was hacked, then you need to make sure that no exploited file or backdoor is present in your backup files. This is why we would recommend that you only upload your images and theme from your backup.
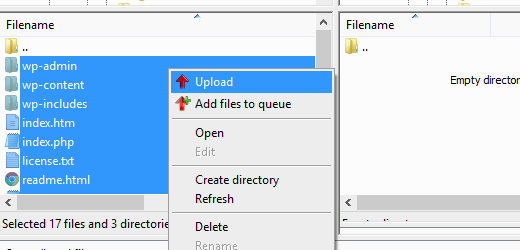
Download a fresh copy of WordPress from WordPress.org and extract it to your hard disk. Open the local directory in FTP, select all files, and upload them to your website.
Once you have uploaded WordPress files, you can upload your wp-config.php file from your backup (if you are sure that it is clean and not compromised). Alternately, you can rename wp-config-sample.php file in your freshly uploaded WordPress files to wp-config.php file. Right click and edit wp-config.php file. Provide your host, database name, database username and password information (you can find this in your old wp-config.php file). If you changed your MySQL user’s password then use new password here. Save the file and upload it back to your website.
Now you need to upload other files from your backup. We will recommend that you only upload your images in /wp-content/uploads/ directory and your WordPress theme. Once you have uploaded these, visit your website to check that every thing is working fine. Also log in to your WordPress admin area.
So far we have restored database and files. Now you need to download fresh copies of the plugins you had on your site. Simply install and activate them one of by one. Lastly, go to Settings » Permalinks and adjust permalinks settings to your old site and then update permalinks.
Troubleshooting WordPress Backup Restore Issues
There are some common problems that you may come across when restoring your WordPress website. We have separate guides for each of them.
- Error establishing a database connection
- White Screen of Death
- Internal Server Error
- Login Page Redirect or Refresh issue
- Single Posts returning 404 Error
Things to do After Restoring your WordPress Site
Once you have successfully restored your website, you need to make it secure. First create a backup and schedule regular automated backups. For securing your website, we will recommend that you immediately change your WordPress password. If you are running a multi-user website then ask all users to update their passwords immediately. Secure your WordPress by making your admin area password protected. Enable Google 2-step authentication to add an extra layer of login security for your site.